Professional Interior Painting Done the Right Way
Professional interior and exterior painting for homeowners who want it done right
Interior painting isn’t just about applying paint. It’s about preparation, surface repair, and using the right materials so the finish looks good and holds up over time.
With over a decade of hands-on experience, we focus on doing the work properly — not rushing through jobs.
★★★★★ 4.9 Stars on Google
Trusted by Local Homeowners
Professional Interior Painting You Can Feel Confident In
Hi I'm Mark Tomassino
owner of Mark's Quality Painting
With over 12 years of hands-on experience, we provide interior house painting across Eastern Ontario with a focus on preparation, craftsmanship, and finishes that last. Homeowners trust us because we take the time to do the work properly — without rushing or cutting corners.

Below, you can see the process we use to make sure interior painting is done the right way.
We supply all materials for the job.
Using the correct paint and primer matters just as much as the prep work. We choose products based on the surface, the room, and how the space is used — not what’s cheapest or fastest to apply.
This ensures consistent results, proper adhesion, and a finish that holds up over time.
When the job is complete, you’re left with a clean, professional finish you can enjoy for years to come.
Our 6 Step Process for Painting Baseboards
Baseboards take more wear than most people realize. Scuffs, shadow lines, nail holes, and uneven edges all show up quickly if the preparation isn’t done properly. A clean, smooth baseboard finish comes from the process, not just the paint.
Our Baseboard Painting Process
We start by lightly sanding the surface to remove old brush marks and rough area
The top edge is caulked to eliminate the dark shadow line where the baseboard meets the wall
Nail holes, cracks, and small imperfections are filled and repaire
A first coat of paint is applied evenly and allowed to dry fully
We sand again between coats to achieve a smooth, consistent finish
A second coat is applied for durability and clean coverage
We use premium-quality paint designed for trim and baseboards because it levels better, dries harder, and holds up to regular cleaning and wear.
Why This Matters
Skipping steps or rushing the process often leads to visible brush marks, uneven lines, and a finish that doesn’t last. Proper preparation and sanding between coats is what gives baseboards a clean, professional look that holds up over time.
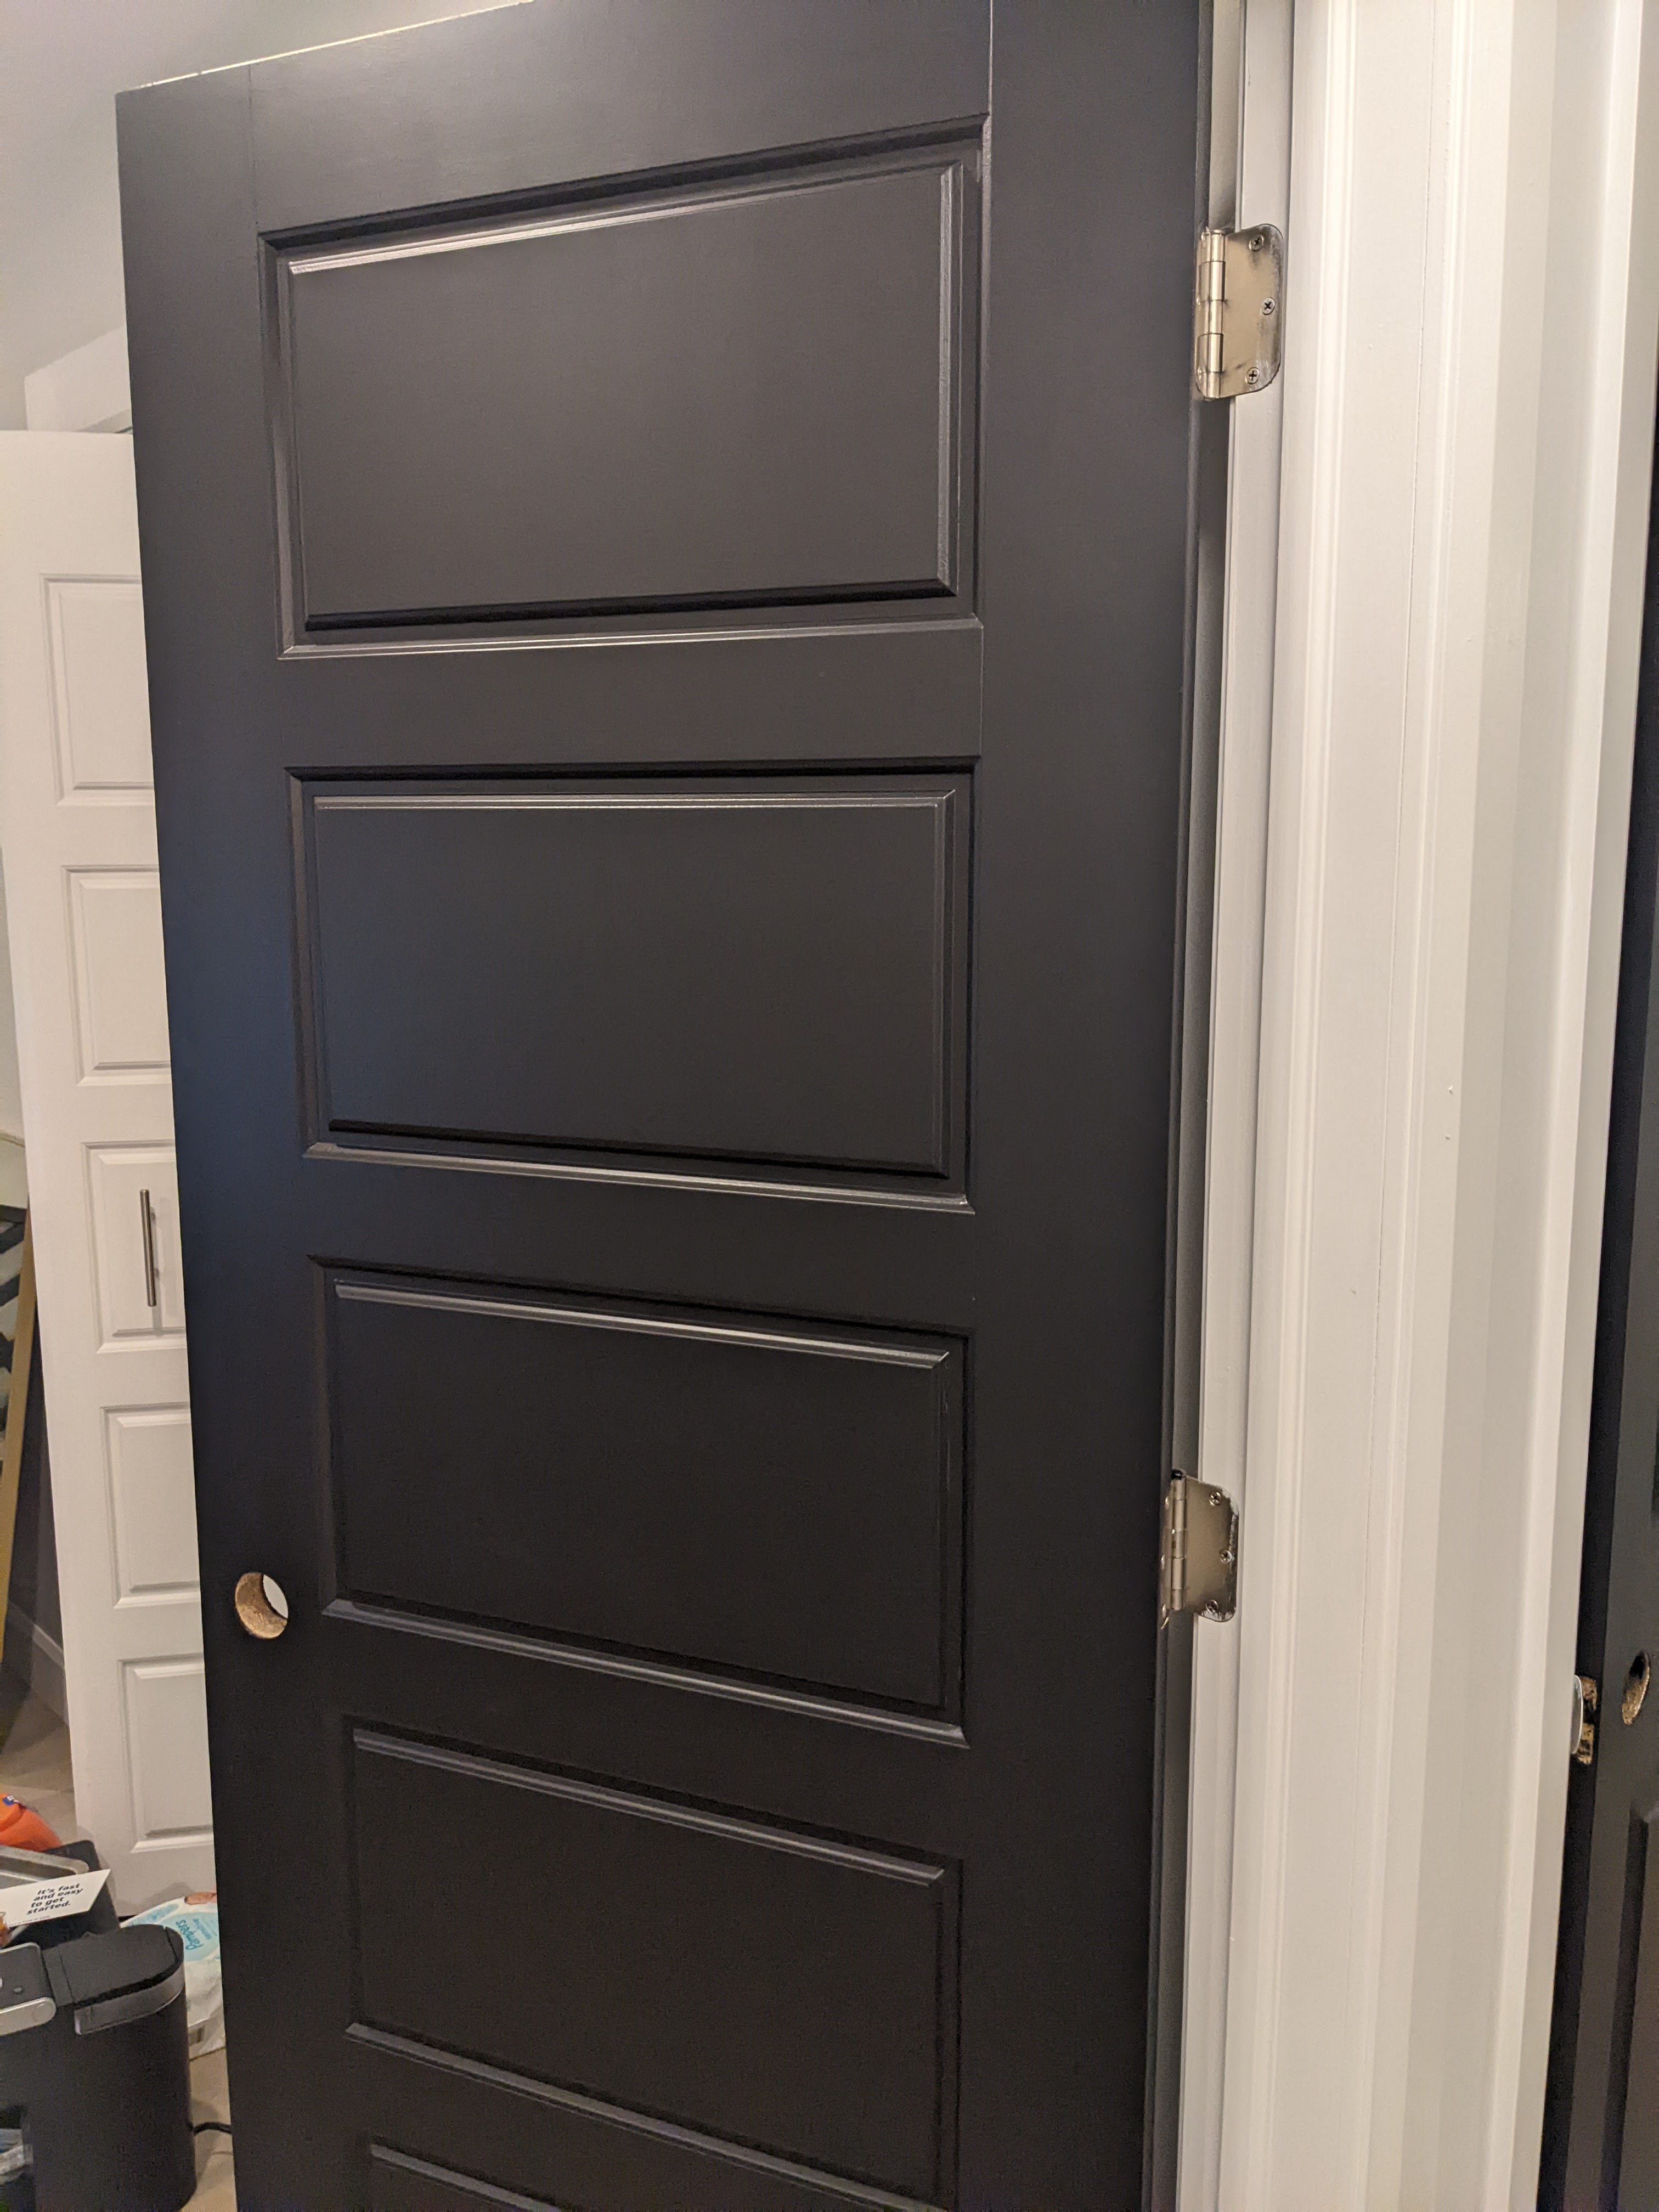
Our 9 Step Process for Painting Doors & Trim
Doors, casings, and trim take more wear than almost any other surface in a home. Fingerprints, scuffs, previous brush marks, and uneven edges all show up quickly if the preparation isn’t done properly. A clean, durable finish comes from the process — not just the paint.
Our Door & Trim Painting Process
Surfaces are cleaned with a degreaser to remove oils, residue, and buildup that can prevent paint from bonding properlyBullet List 2
Light sanding or deglossing is done to remove old brush marks and create proper adhesion
Nail holes, cracks, and imperfections are filled and repaired for a smooth, uniform surface
Trim joints and top edges are caulked to eliminate dark shadow lines and create clean, seamless transitions
Sharp edges and profiles are detailed carefully so lines stay crisp and consistent
A proper primer is used when needed to block stains and create an even base
The first coat is applied evenly and allowed to dry fully
Light sanding between coats ensures a smooth, professional finish
A second coat is applied for durability and consistent coverage
For doors and trim, we use paints designed specifically for these surfaces. These products level better, dry harder, and are easier to clean than standard wall paint — which helps maintain a smooth finish even in high-traffic areas.
Why This Matters
Doors and trim are touched every day. When prep is skipped or the wrong products are used, paint can chip, stick, or wear unevenly over time. Taking the time to prepare surfaces correctly and using trim-specific coatings results in a finish that looks clean, resists wear, and holds up to regular use.
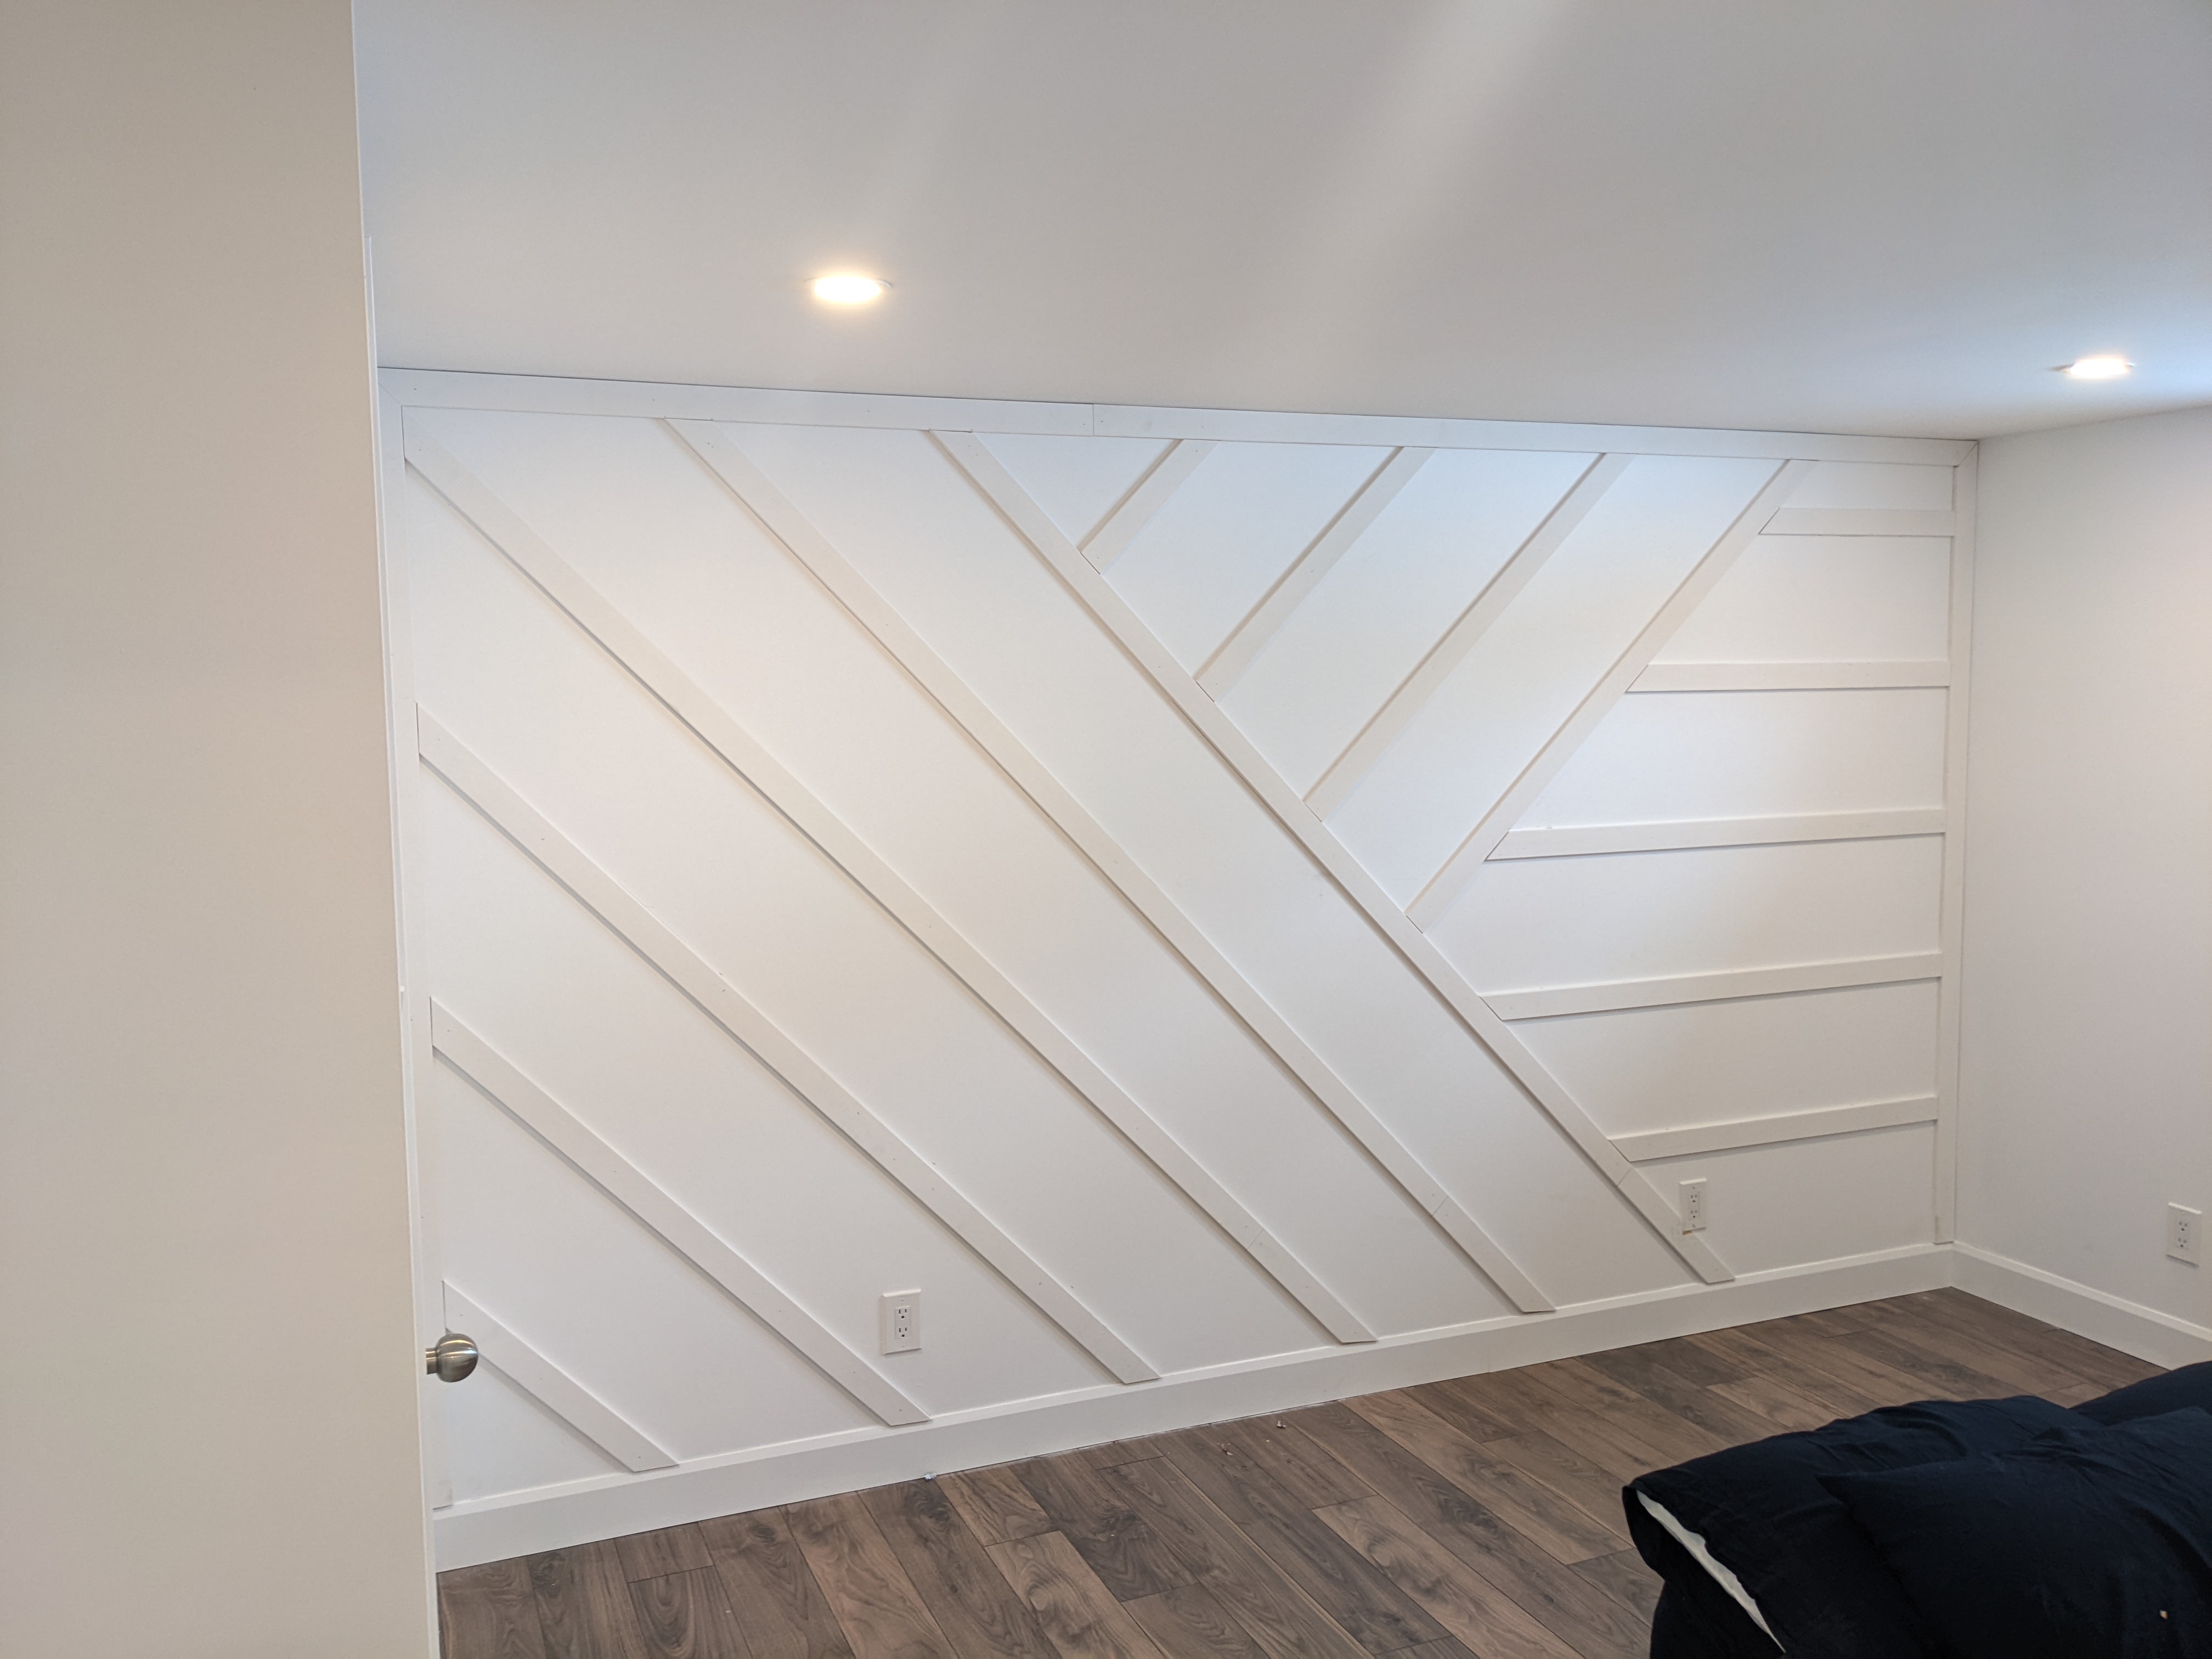
Our 10 Step Process for Painting the walls
Walls are the largest and most visible surfaces in a home. Even when they appear clean, walls often hold dust, residue, and minor imperfections that affect how paint bonds and how the finish looks once it dries. A smooth, consistent wall finish comes from full-surface preparation and using the right paint system — not shortcuts.
Our Wall Painting Process
Nail holes, dents, cracks, and damaged areas are patched and repaired
All light switch and electrical outlet covers are removed so walls can be painted cleanly without cut-in lines around plates
Repaired areas are sanded so patches blend seamlessly into the surrounding wall
All walls are fully sanded to remove surface imperfections, old roller texture, and minor flaws so the finish lays flat
Walls are thoroughly washed to remove dust, residue, and buildup before any paint is applied
Floors are protected with drop cloths to keep the work area clean
Edges, corners, and transitions are cut in carefully to maintain clean, straight lines
The first coat is applied evenly and allowed to dry fully
Light sanding between coats is done when needed to maintain a smooth, consistent finish
A second coat is applied for uniform coverage and long-lasting results
We use a high-quality paint with built-in primer, which helps improve coverage, reduce flashing, and minimize the appearance of minor imperfections
Eggshell finish is used on walls for a clean look that’s durable and easy to maintainRooms do not need to be emptied before painting. Furniture is carefully moved to the center of the space and fully covered with drop cloths or protective materials to keep everything clean and protected while the work is completed.
Why This Matters
Using the correct paint finish and properly preparing the entire wall surface helps prevent uneven sheen, visible patches, and premature wear. Full sanding, washing, and a quality paint system result in walls that look smooth, consistent, and hold up well over time.
Our 7 Step Process for Painting the ceilings
Ceilings are often overlooked, but they collect more dust, residue, and airborne buildup than any other surface in a home. Because they’re rarely cleaned, proper preparation is critical to achieving a smooth, even finish that doesn’t show roller marks or flashing once the paint dries.
Furniture can remain in the room when possible and is carefully moved to the center and fully covered (If space is limited, furniture is temporarily moved out and returned once painting is complete)
Our Ceiling Painting Process
Floors are fully protected with drop cloths before any work begins
Holes, cracks, and damaged areas are patched and repaired
The ceiling is fully sanded to remove surface imperfections, old roller texture, and minor flaws so the finish lays flat
Repaired areas are sanded to blend seamlessly into the ceiling surface
Ceilings are thoroughly cleaned to remove dust, residue, and buildup that can prevent proper paint adhesion
Edges along walls, trim, and fixtures are cut in carefully for clean, straight lines
Two coats are applied to ensure consistent coverage and reduce visible roller marks
We use a high-quality ultra-matte ceiling paint designed to minimize light reflection and hide minor imperfections. Despite its flat appearance, the product is washable, allowing for gentle cleaning without damaging the finish.
When painting an entire room, ceilings are always painted before the walls to ensure a clean, professional result
Why This Matters
Because ceilings reflect light differently than walls, poor preparation or incorrect paint can leave visible streaks, roller marks, or uneven sheen. Proper cleaning, full-surface prep, and using the correct ceiling paint ensures a clean, smooth finish that looks right from every angle.
Interior Painting Done Right — From Start to Finish
Interior painting isn’t just about changing the color of a room. It’s about proper preparation, using the right materials, and taking the time to do the work correctly so the finish looks clean, consistent, and lasts for years.
At Mark’s Quality Painting, we provide professional interior painting services across Eastern Ontario, including walls, ceilings, doors, trim, and detailed surface preparation. Every project is handled with care — from protecting your home and furniture to applying durable, high-quality coatings designed for each surface.
When the job is complete, you’re left with a clean, professional finish you can enjoy for years to come.
If you’re looking for a reliable interior house painter who focuses on craftsmanship, preparation, and long-lasting results, you’re in the right place.
Schedule your interior painting estimate today and see the difference a professional process makes.
STILL NOT SURE?
Frequently Asked Questions
We know hiring a painter comes with questions. Here are clear answers to the most common things homeowners ask before getting started.
How much does professional painting cost?
Pricing depends on the size of the space, surface condition, prep work required, and the type of paint used. We provide free, no-obligation estimates so you get clear, upfront pricing with no surprises.
Do I need to move furniture before painting?
No. Furniture does not need to be removed. We carefully move furniture to the center of the room and fully protect it with drop cloths and coverings. If a room needs to be cleared completely, we handle that as part of the job.
Do you supply the paint and materials?
Yes. We supply all paint and materials for the job. We select products based on the surface, room use, and lighting — not what’s cheapest or fastest to apply. This ensures proper adhesion, even coverage, and long-lasting results.
How many coats of paint do you apply?
We apply two coats on all surfaces. One-coat paint jobs don’t hold up over time and often result in uneven coverage. Two coats ensure durability, consistent color, and a professional finish.
What paint finish do you use on walls and ceilings?
Walls are typically painted in eggshell finish, which provides durability, easy cleaning, and a clean appearance. Ceilings are painted with ultra-matte ceiling paint to minimize light reflection and hide imperfections while remaining washable.
Do you repair holes and cracks before painting?
Yes. Nail holes, dents, cracks, and minor damage are patched, sanded, and blended so repairs disappear once painted. Proper surface repair is a critical part of a professional interior paint job.
How long does interior painting take?
Project timelines depend on room size, prep work, and scope. Many rooms are completed within a day or two, while full interiors may take longer. We focus on doing the work properly — not rushing through jobs.
Are your interior painting services insured?
Yes. We are fully insured and experienced, providing homeowners with peace of mind throughout the entire project.
Mark's Quality Painting & Home Improvements
Copyright © 2026. Mark's Quality Painting & Home Improvements. All Rights Reserved.